Appearance
Admin Dashboard
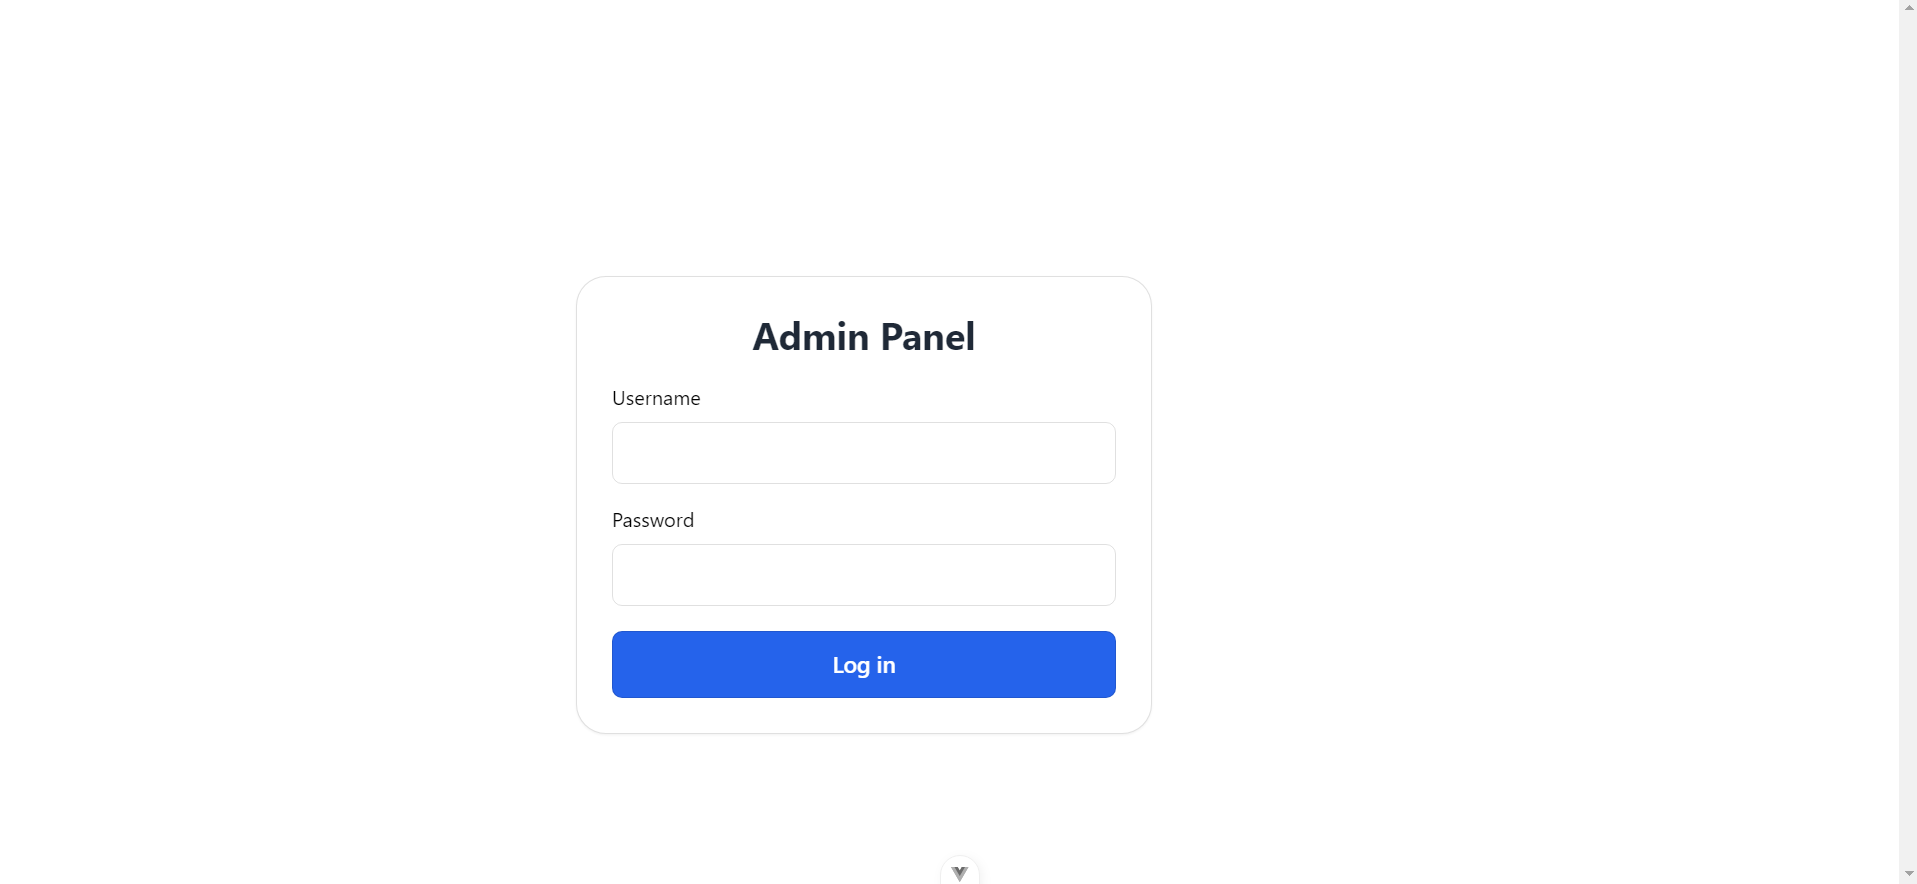
Login View
Home
This is the home page view for the admin. Currently, this is just a pseudo structure of our home page.
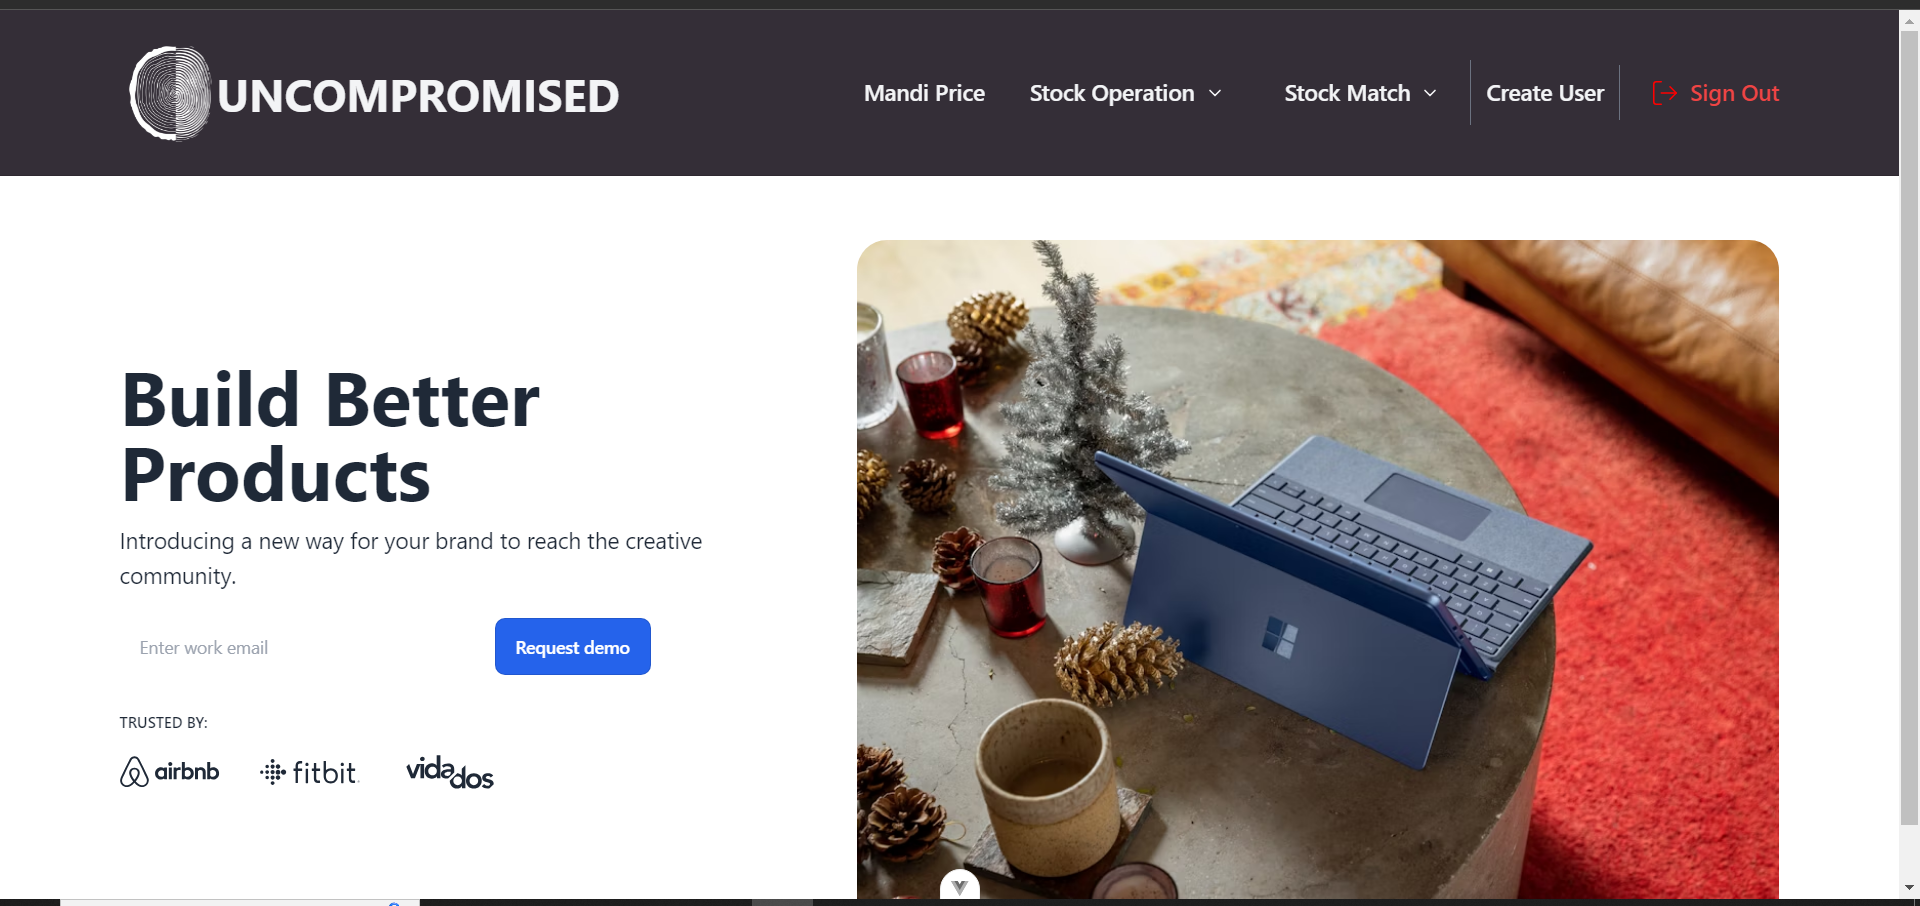
Navbar

- Mandi Price - Navigate to see the Mandi Price Tracking Utility Page
- Stock Operation - Navigate to see the Pickup, Drop and Spoilage section
- Stock Match - Navigate to see the CheckIn, CheckOut and Stock Difference section
- Create User - This option is for creating users for using our Purchase Automation App. Visible to Admins Only Create User
- Sign Out - This option lands you back to the Login page
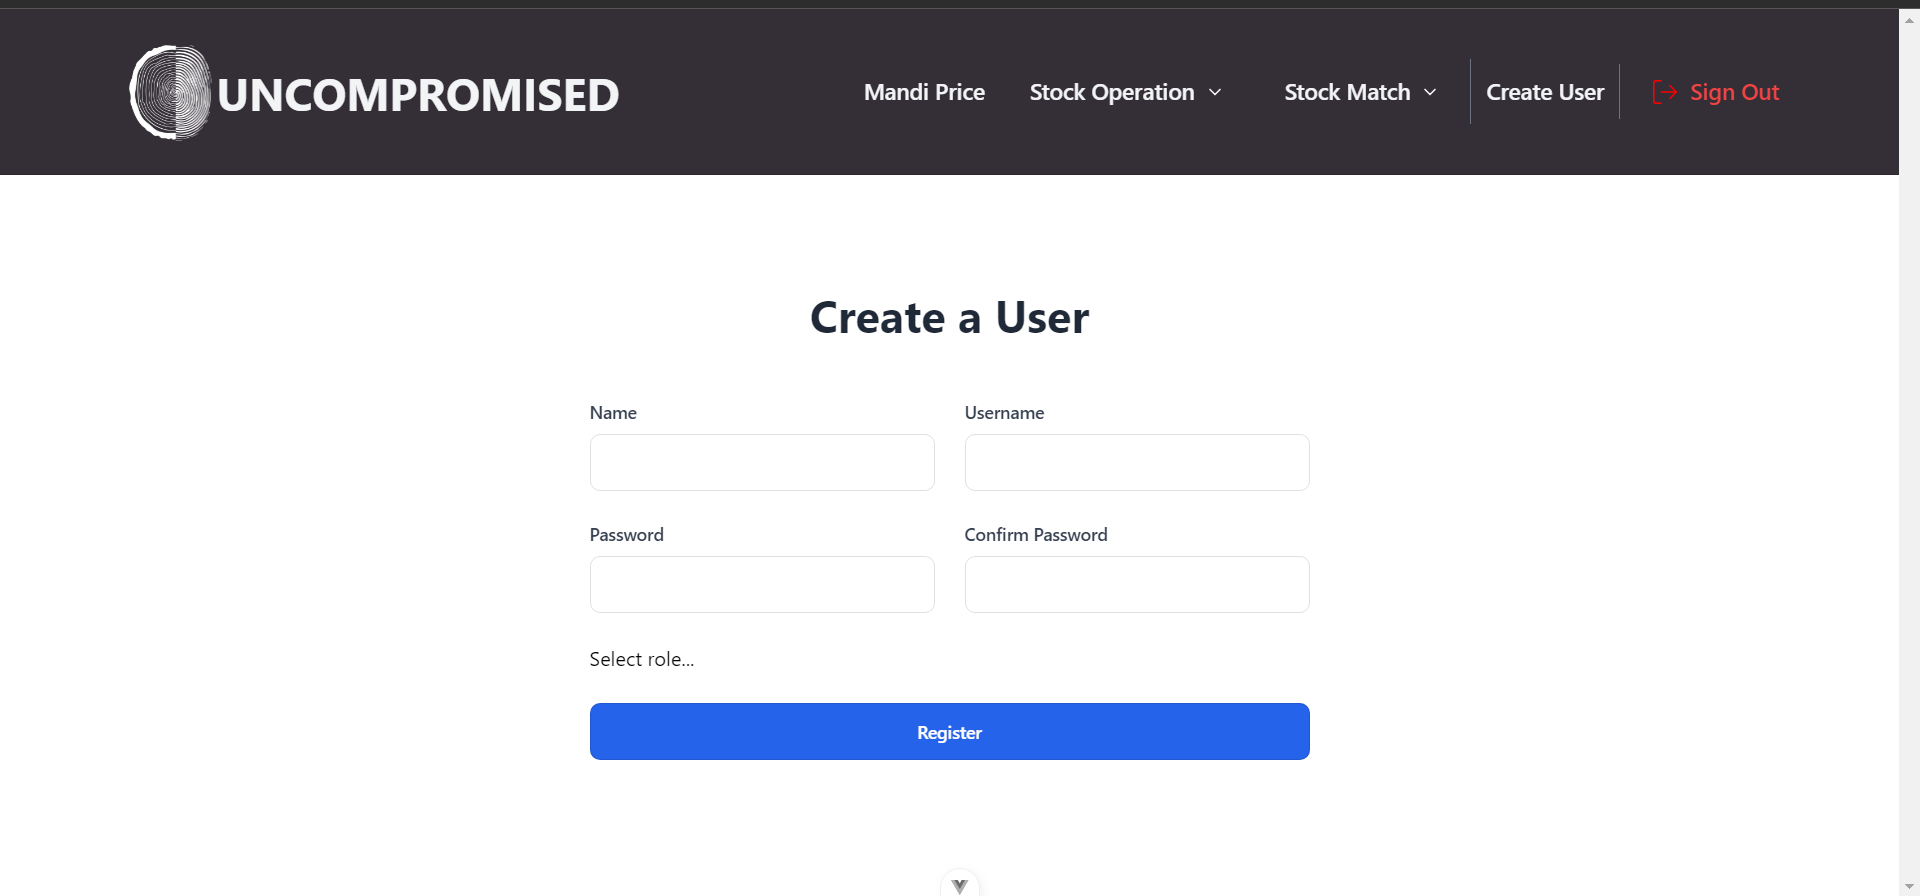
Create User
This is the page for creating users with their specified roles from the dropdown menu. The user that is being created here will be able to access our purchase automation app or admin page depending on the role specified.
Note: This page is accessible to Admins only
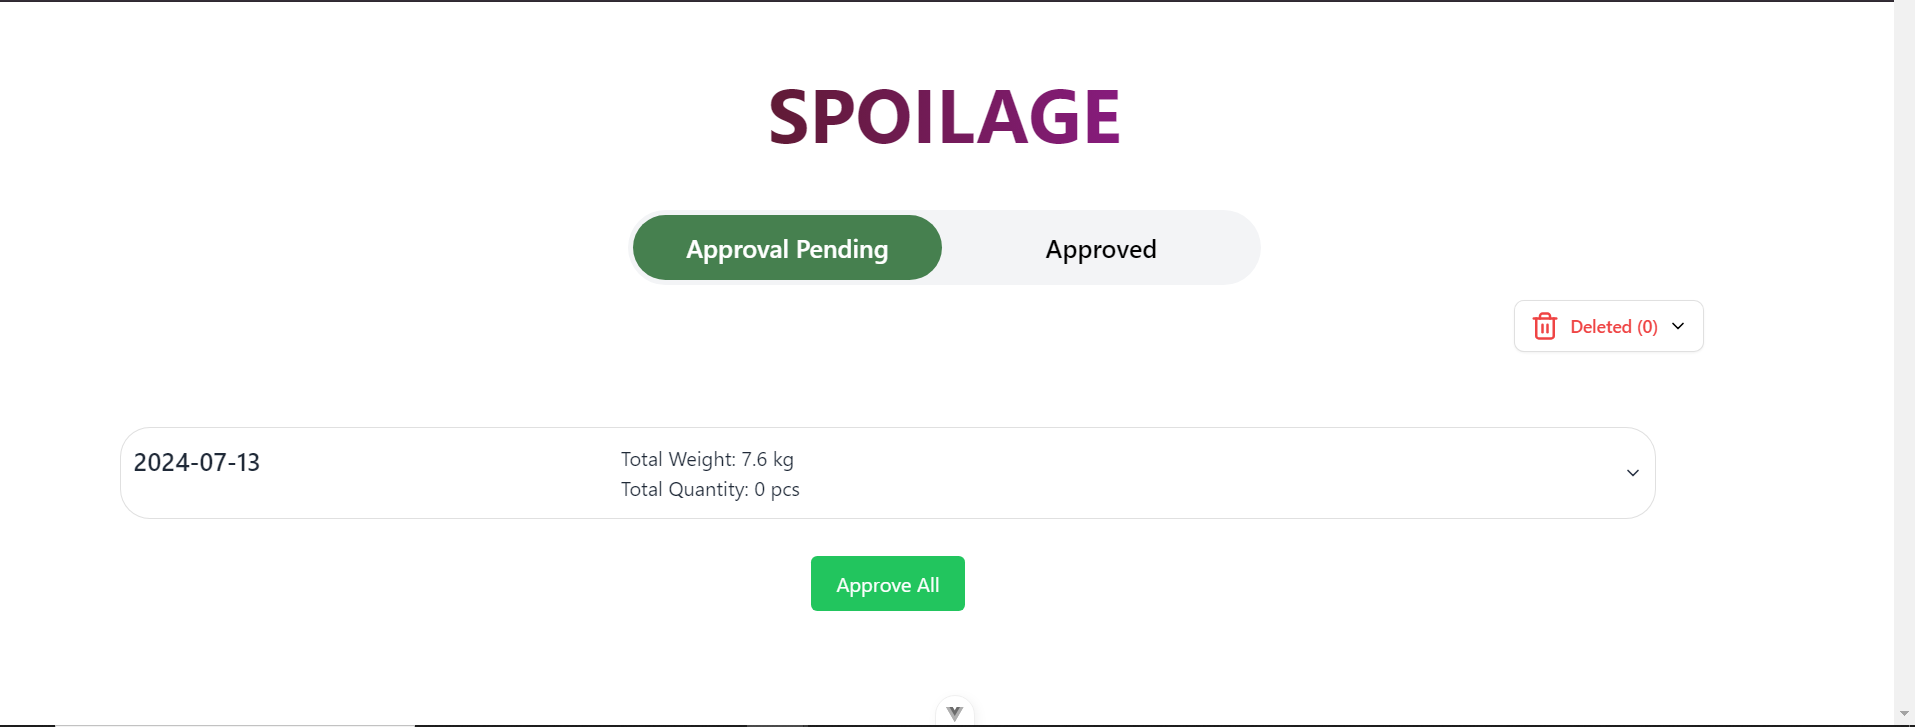
Pickup
This is the pickup page for displaying the products dispatched from the farms. There are two different parts in all the pages:
- Pending Approval - Shows the products list that are not yet approved by the admin date-wise.
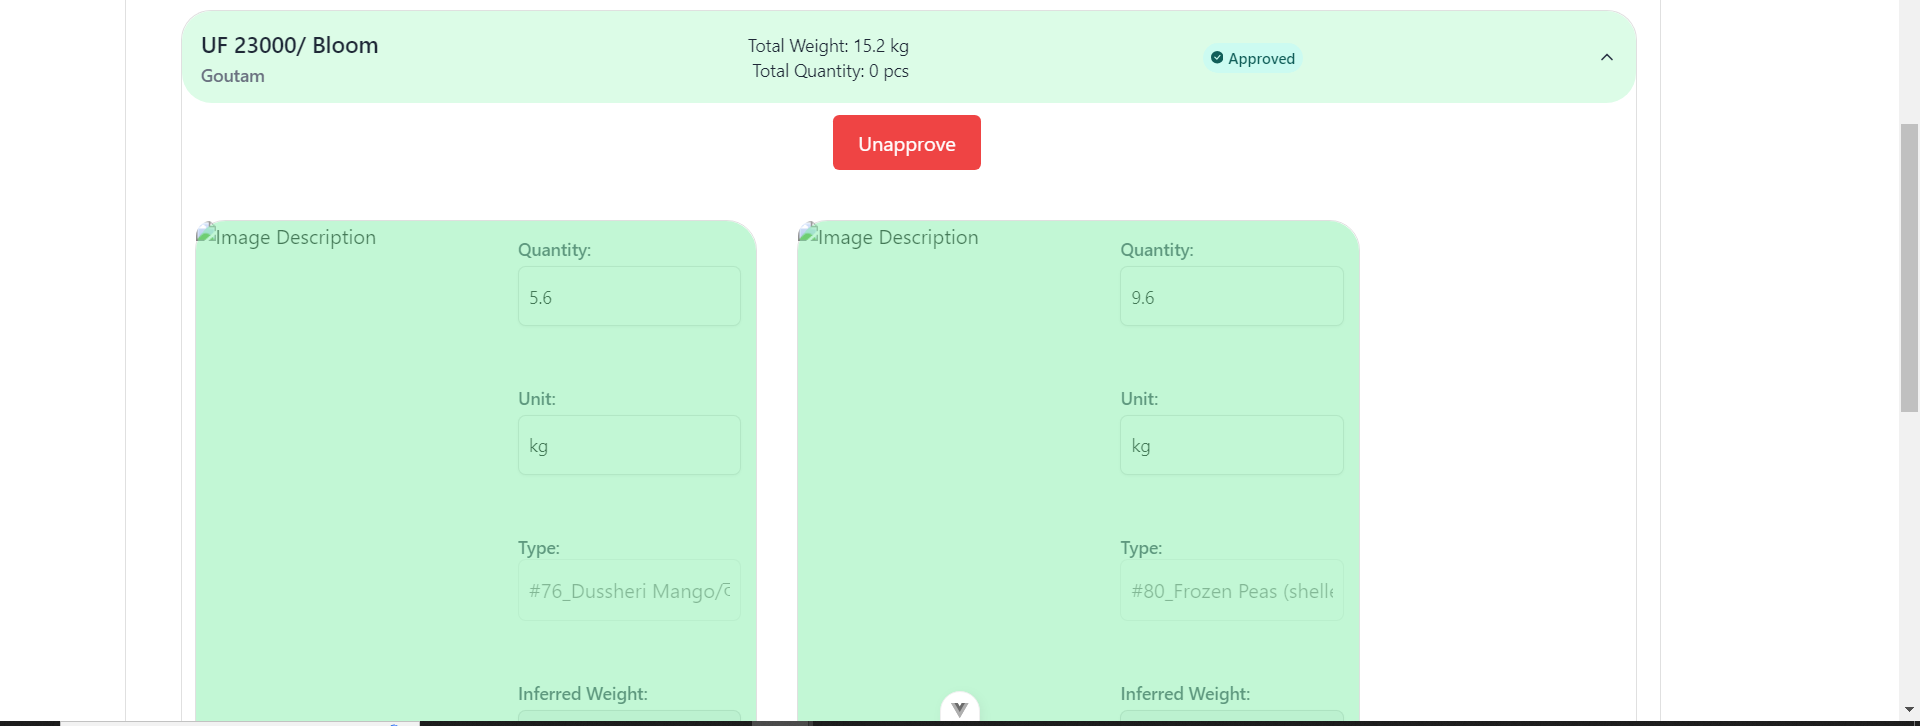
- Approved - Allows the admin to view the earlier approved items. All the field in this page are read-only.
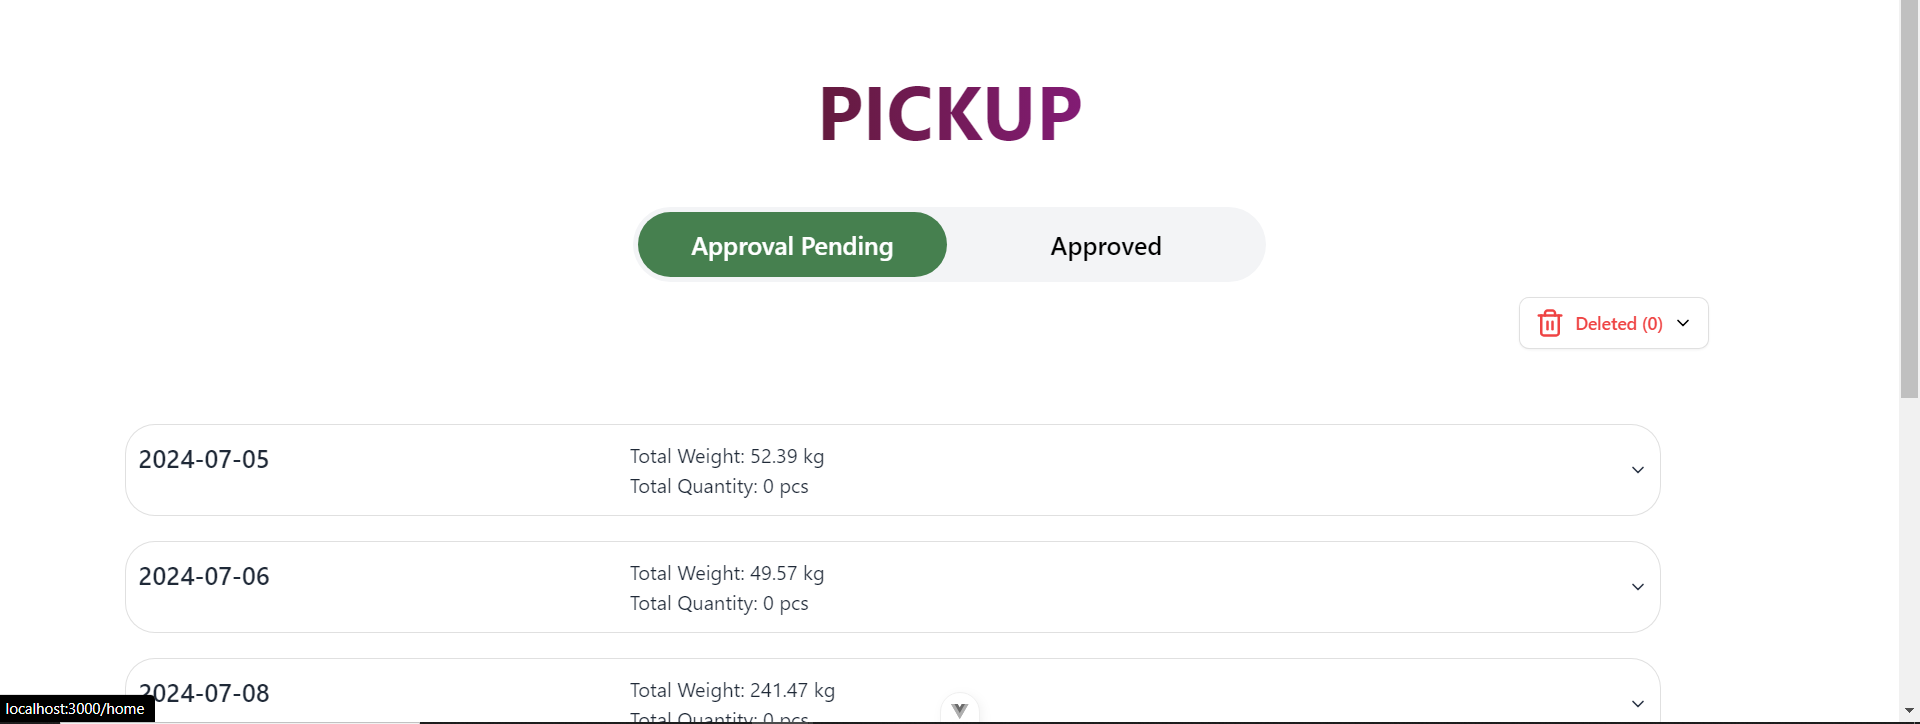
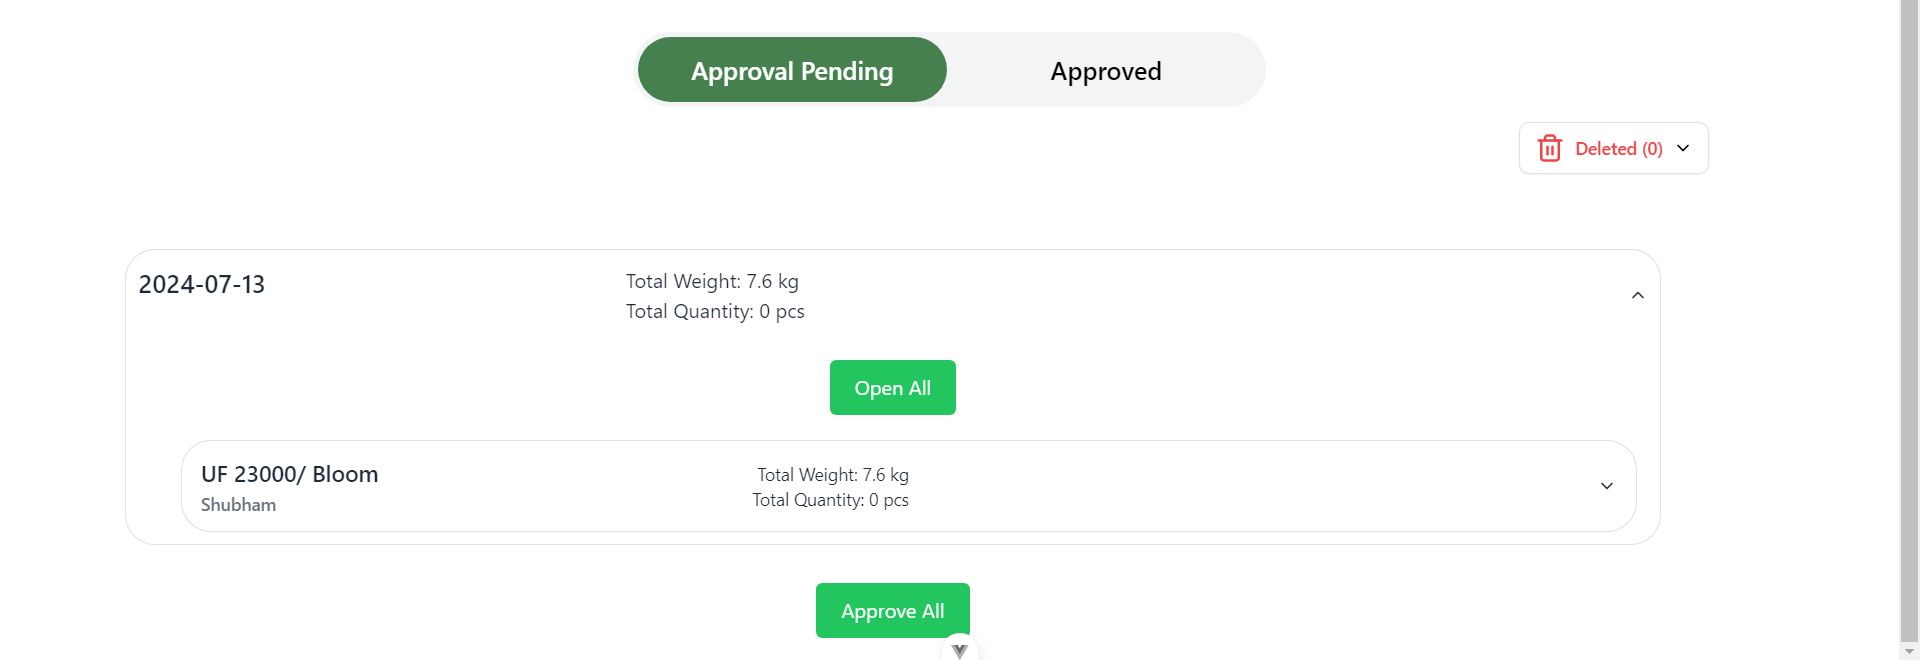
Below is the list of items added for a particular date from different farms, which will open on selecting the particular sub-accordion.
Open All button will open all the items from different farms for that particular date.
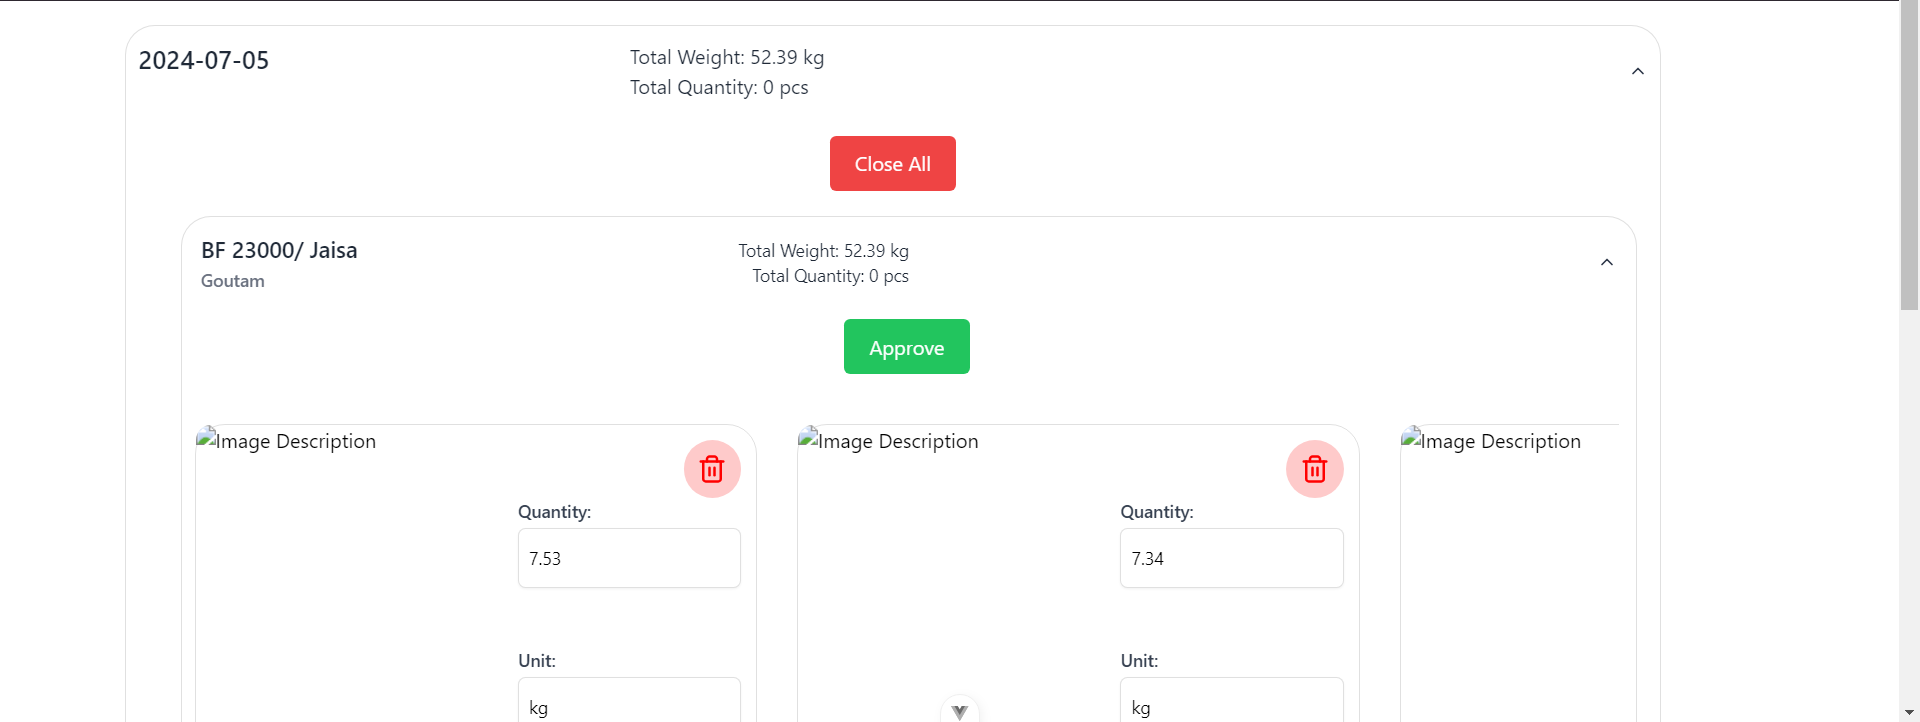
Approve button will approve all the items for that particular farm for the selected date.
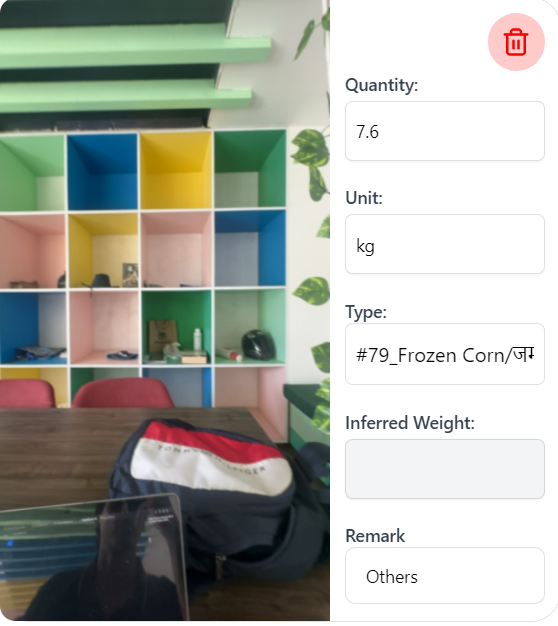
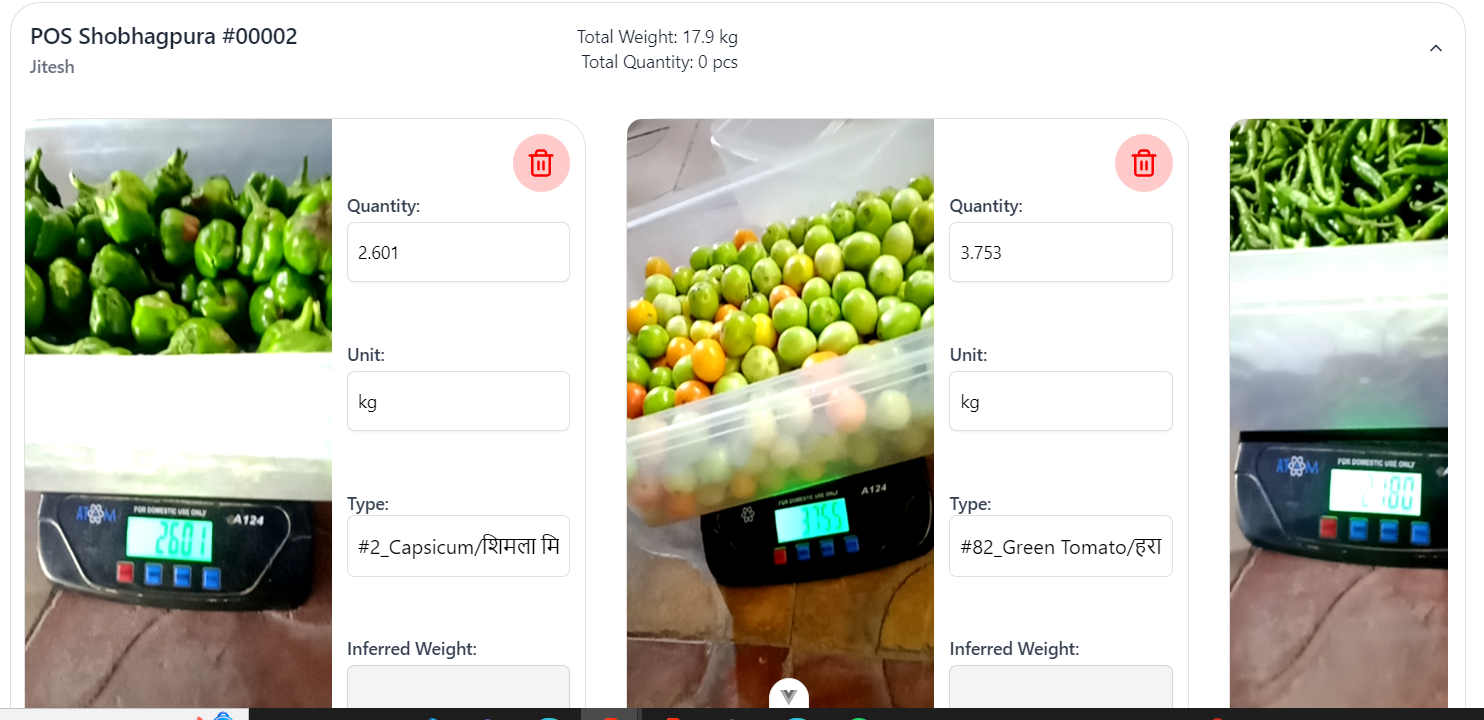
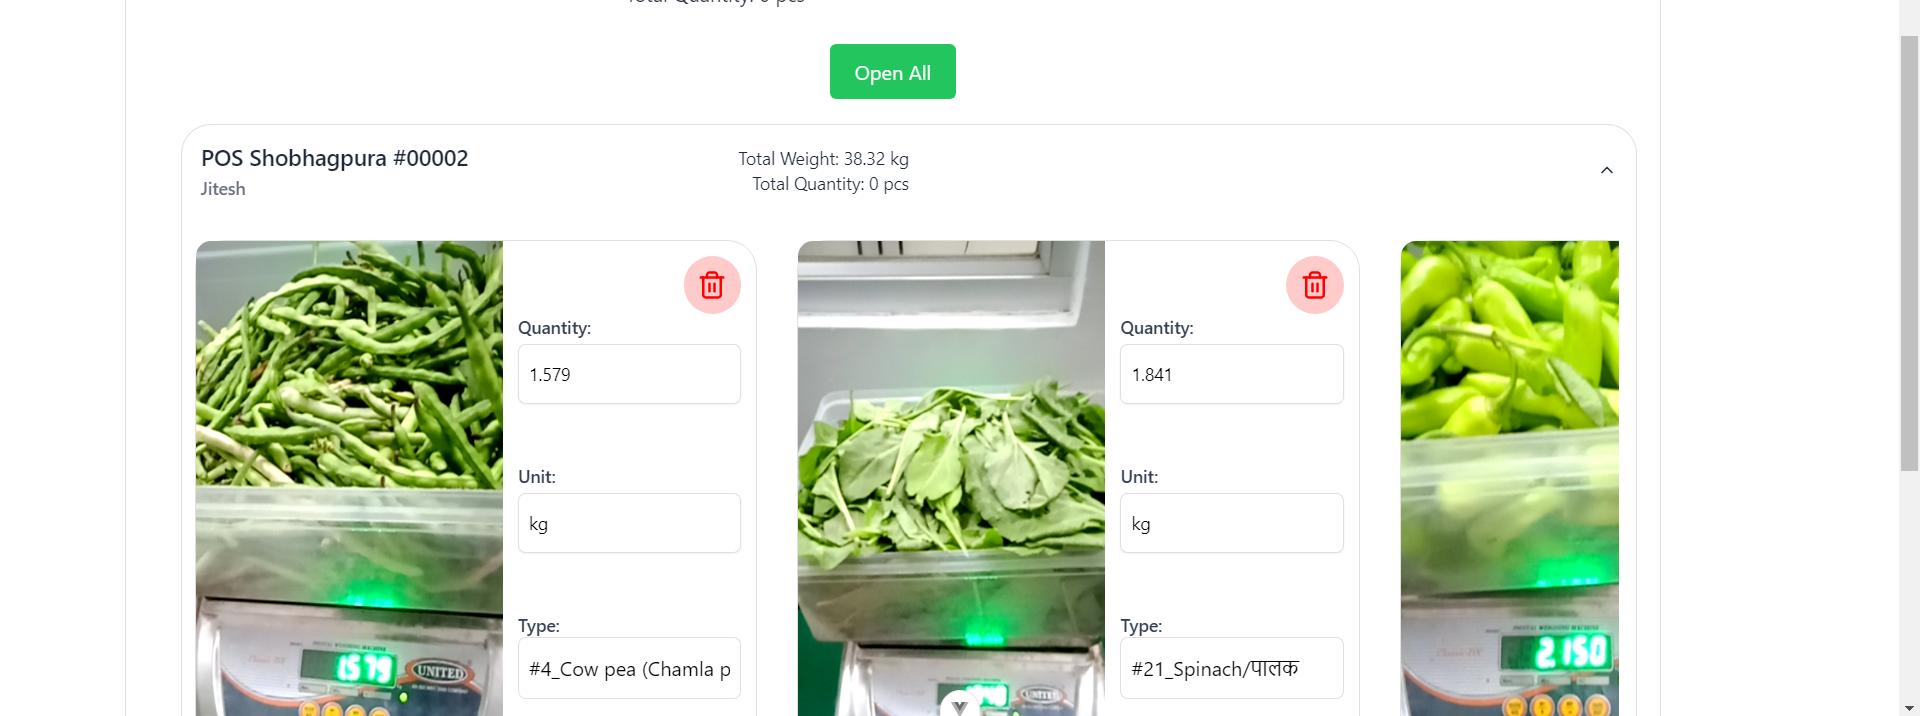
This is the card for a particular item which will contain all the entered inputs for this item. You can delete the item if entered details seem to be incorrect.
All the details about the particular entered item can be edited in the pending approval page before approval.

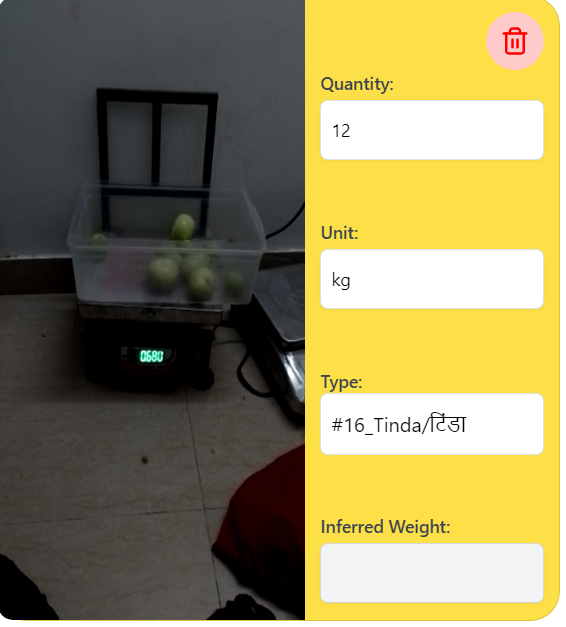
If the quantity entered is integer value and the unit entered is kg, then that item will get highlighted as mentioned below:
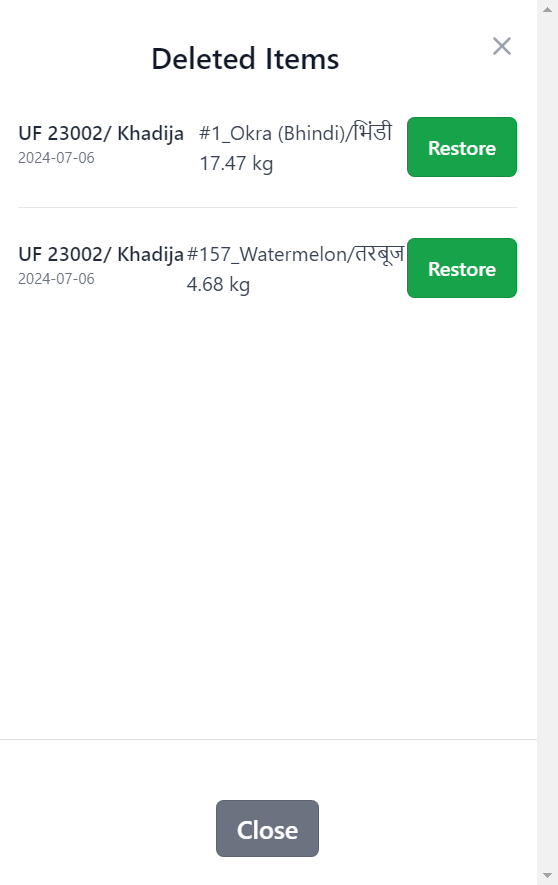
This is how a deleted item will look like:

To see the deleted items, you can navigate to this deleted dialog panel.

This is the dialog panel which will contain the deleted items. The Restore button here will again restore the deleted item for approval on the main page.
Drop
This is the drop page, which is exactly similar to the pickup page. It contains all the farm items that are dropped at our office store.
Check out the Pickup section: Pickup

Spoilage
This is the spoilage page, which will contain the spoilage items.
- On expanding the particular sub-accordion for a particular date, it will display all the spoilage items for the selected date with the sub-accordion header as the type of the spoilage (spoilage sorting, spoilage decay, beyond zero farms, etc.)
- In case of beyond zero farms, the sub-accordion header will display the farm names corresponding to the particular spoilage item.
- This is the card for displaying the details of the spoilage item, which contains the remark option that will contain the reason for spoilage as entered by the admin during approval of the item.
- Clicking on remark input box will open a dropdown containing various reasons for spoilage.
Note: All the other functionalities of the sub-accordions and card items like deletion, and editing in a particular card are the same as the Pickup page.
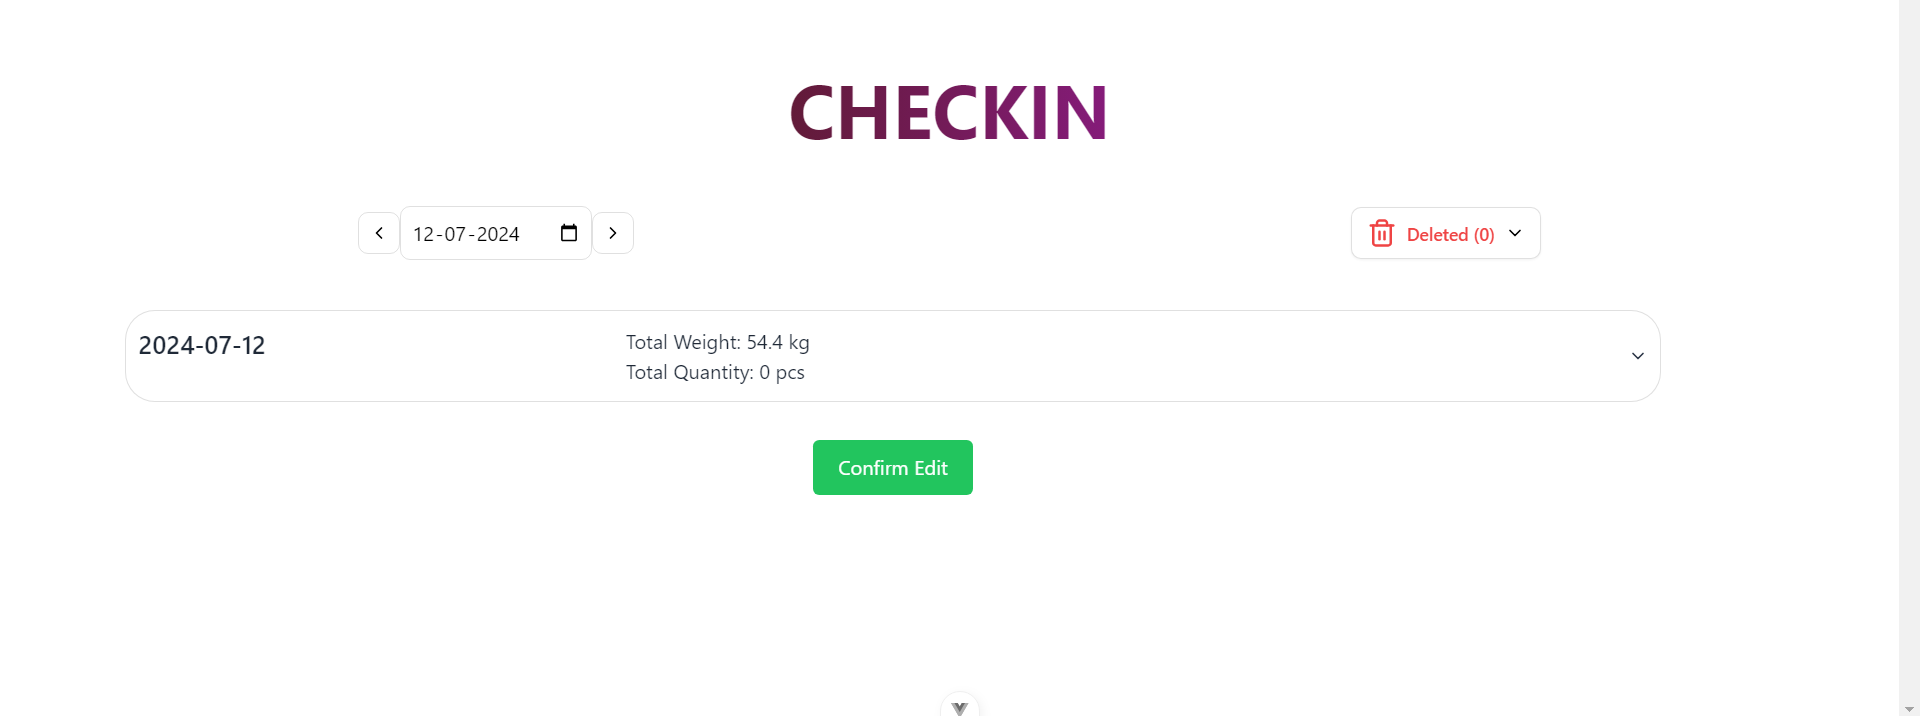
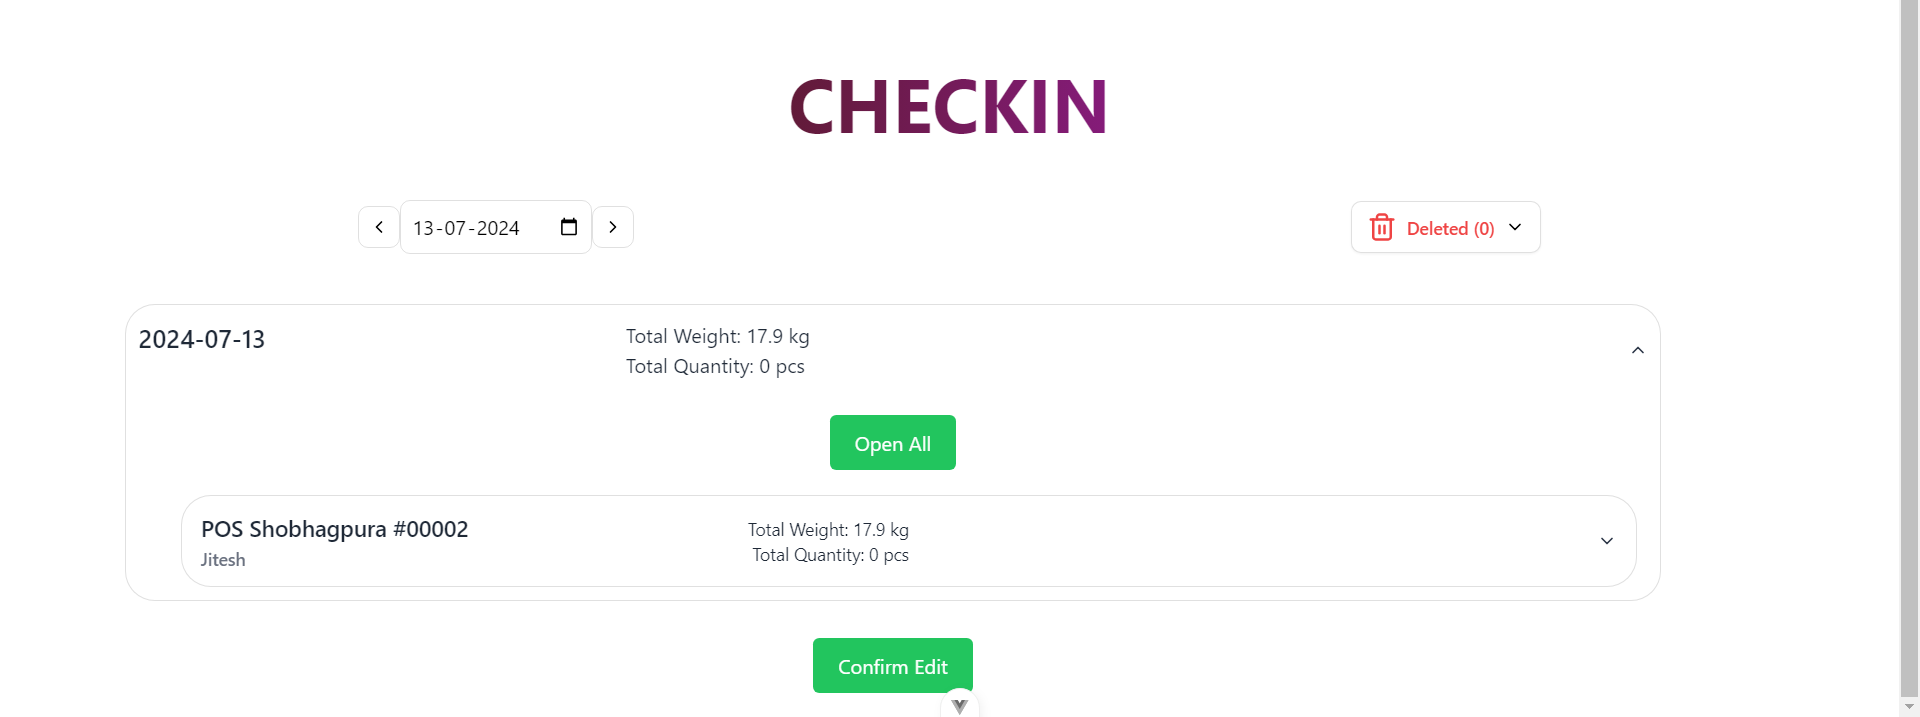
CheckIn
This is the CheckIn page, which will contain the items that are received from our offline stores for the selected date.
Note: All the other functionalities of the sub-accordions and card items like deletion, and editing in a particular card are the same as the Pickup page.
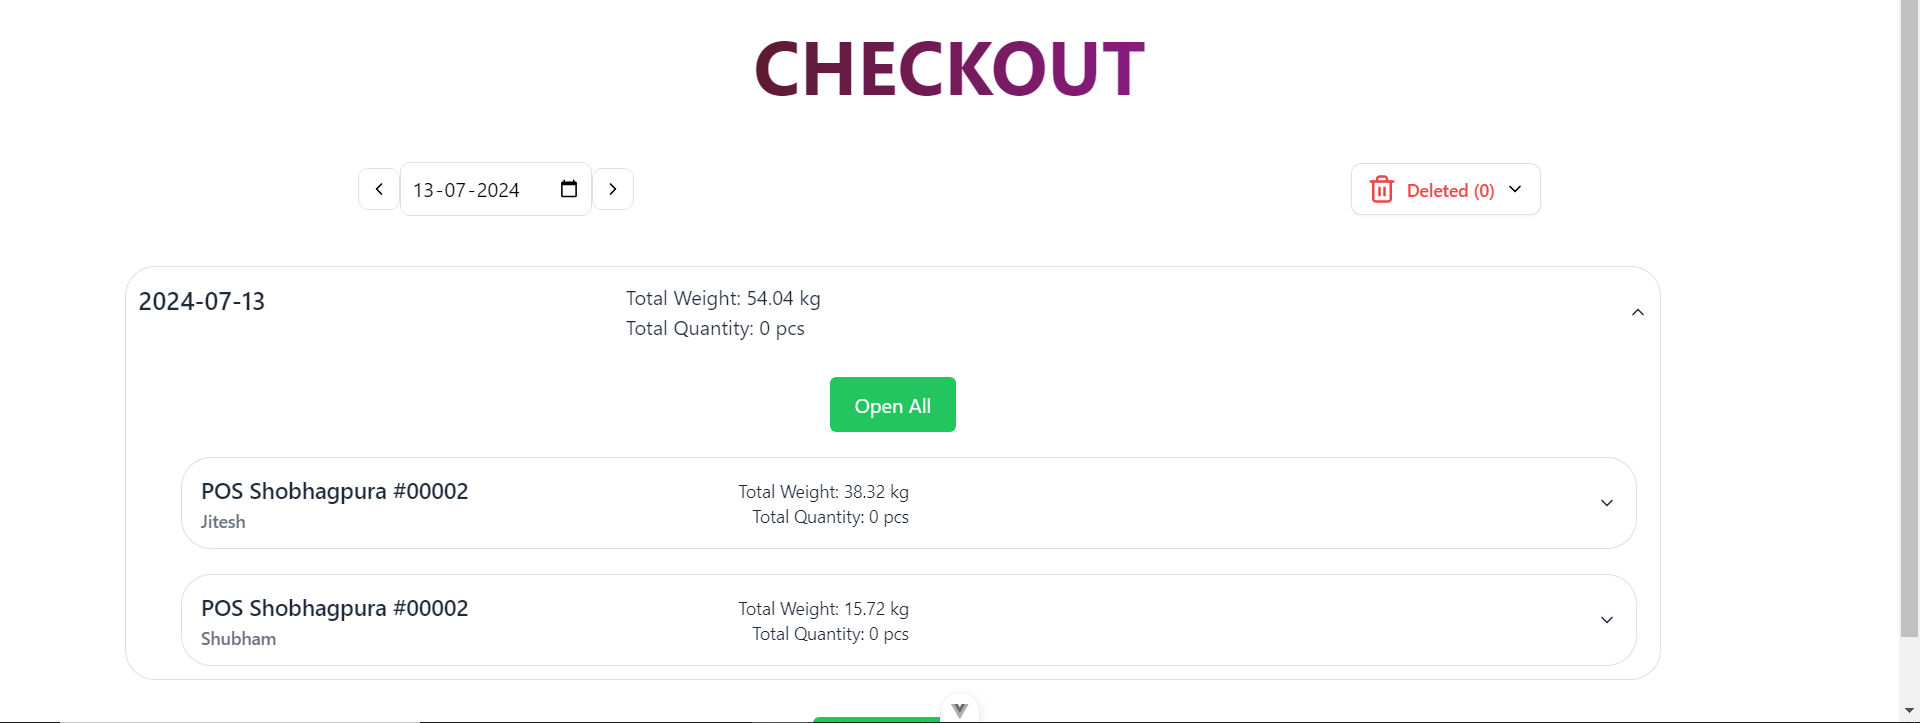
CheckOut
This is the CheckOut page, which will contain the items that are checked out from our main office store to our offline retail stores for the selected date.
Note: All the other functionalities of the sub-accordions and card items like deletion, and editing in a particular card are the same as the Pickup page.
Stock Difference
This is the Stock Difference page, which will contain the details about the difference in the checkin and checkout data.
Mandi Price Utility Admin Guide
This is the landing page of the items price tracking utility. It has two parts:
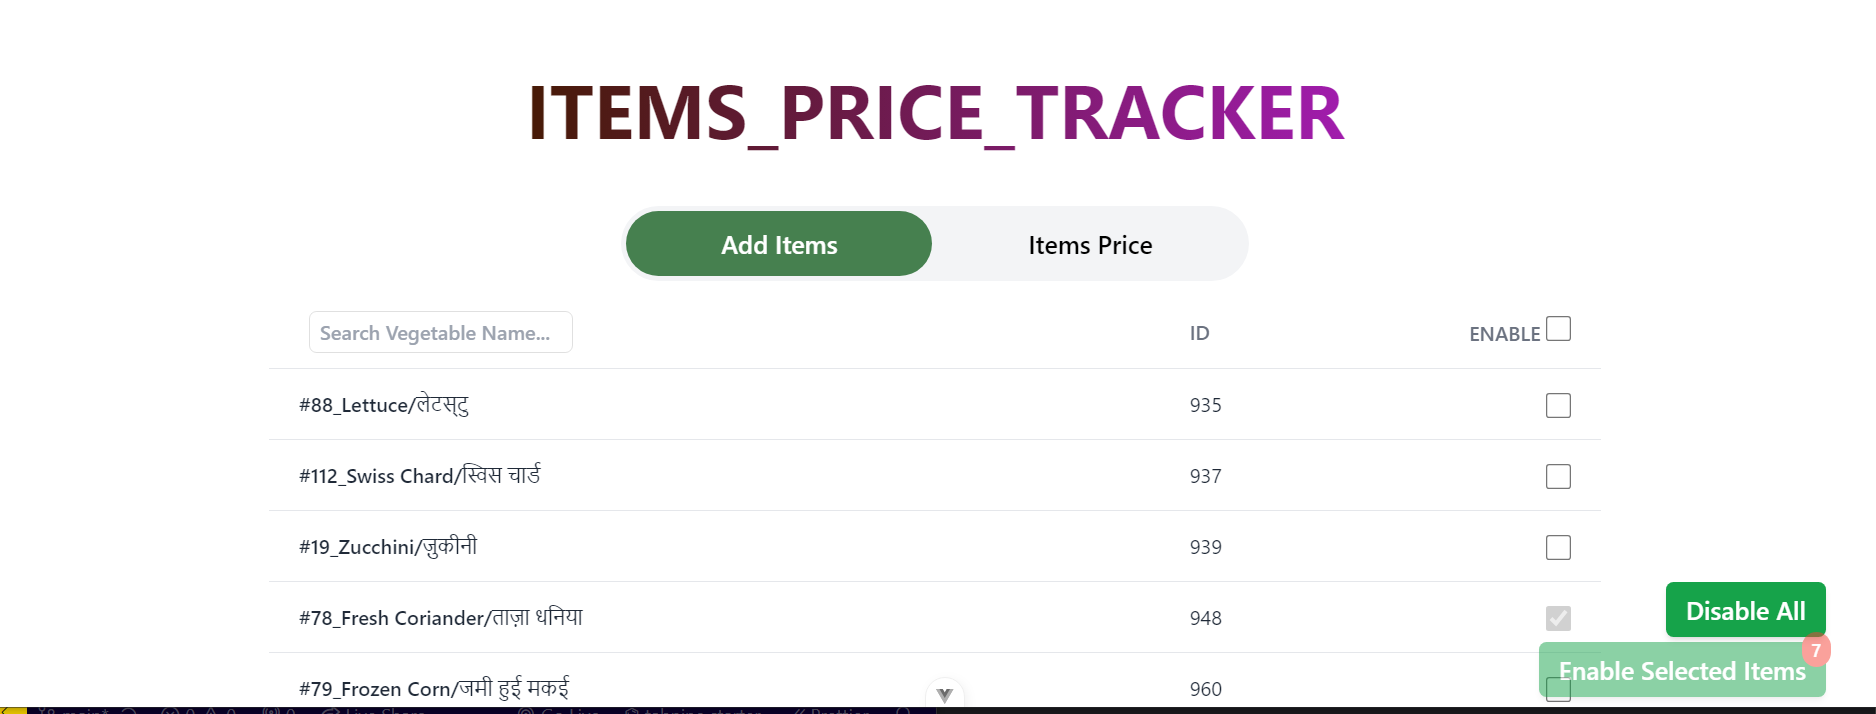
Add Items
The Add Items page is for enabling the items for which we want to track the price for that particular day.
- Checkbox: Clicking on the checkbox corresponding to each item will enable the items for that day and vice versa.
- Clicking on the checkbox will show a loading spinner for enabling or disabling that item.
- Automatic Enabling:
- If no items have been enabled for that day from the admin side, then from the user side, when the user opens the mandi price tracking app, they will see the items that were enabled yesterday.
- On loading the app, those items will automatically get enabled. When the admin visits this add items page, they will see those items automatically enabled.
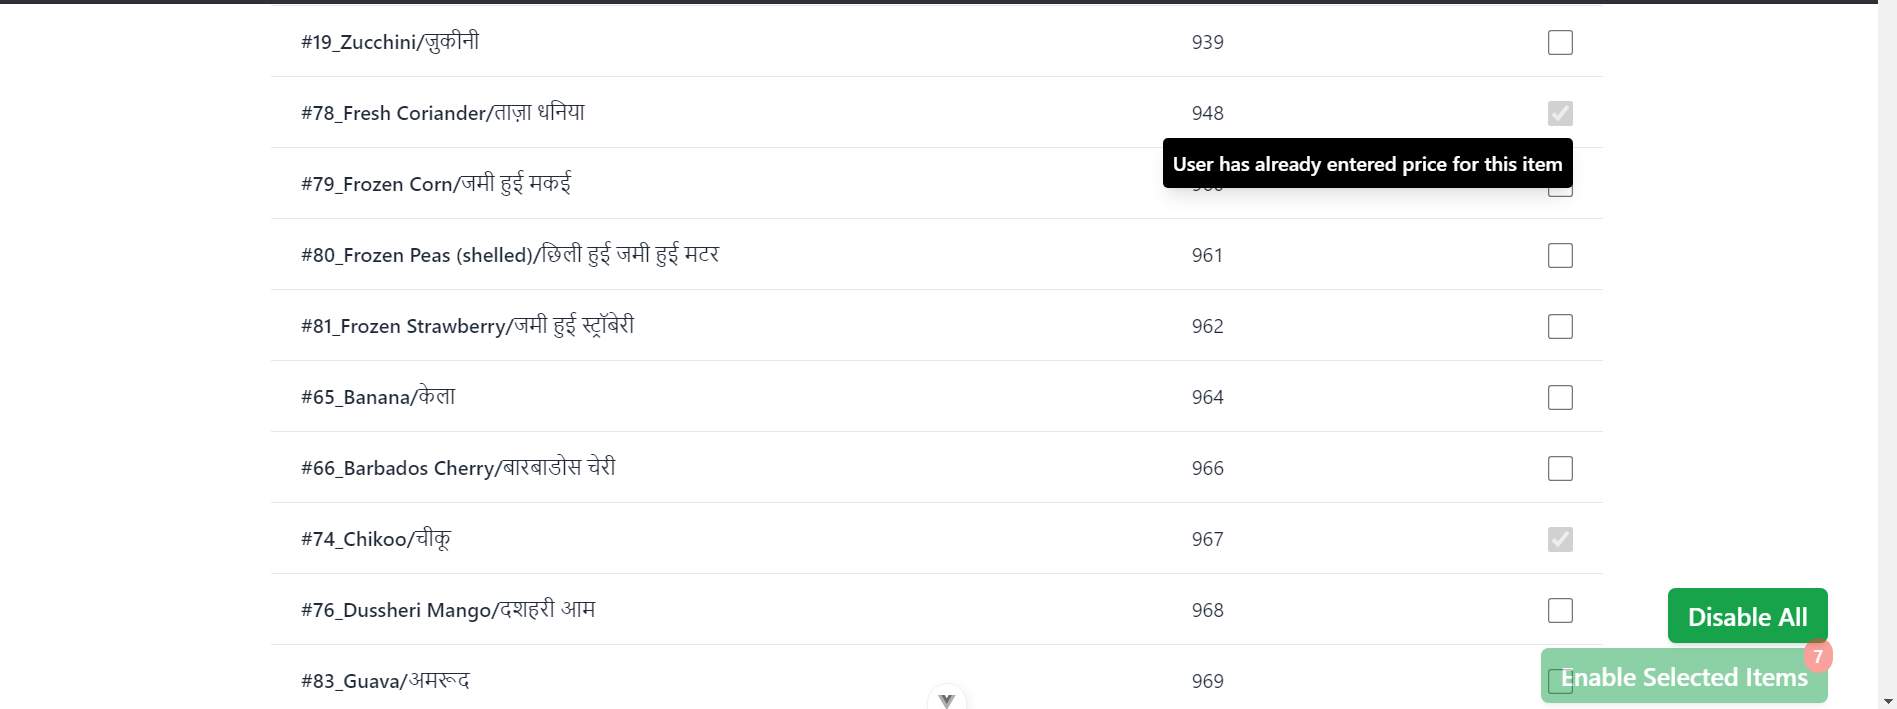
- Disabling Items:
- If the user has entered the price for an item for a particular day, then those items cannot be disabled for that particular day.
- Enable Selected Items Button:
- This button is used only when we are selecting the enable all checkbox.
- After selecting the enable all checkbox, the admin has to click on the Enable Selected Items button to get all the items enabled. This is the only functionality of this button.
- Disable All Button:
- This button is used for disabling all the items which can be disabled.
- For a particular day, you can disable all the items for which the user has not entered the price on that particular day.
- The user has to refresh the home page of the app for any changes to occur, whether it be to show the newly enabled items or to display the yesterday enabled items (if no items enabled today)
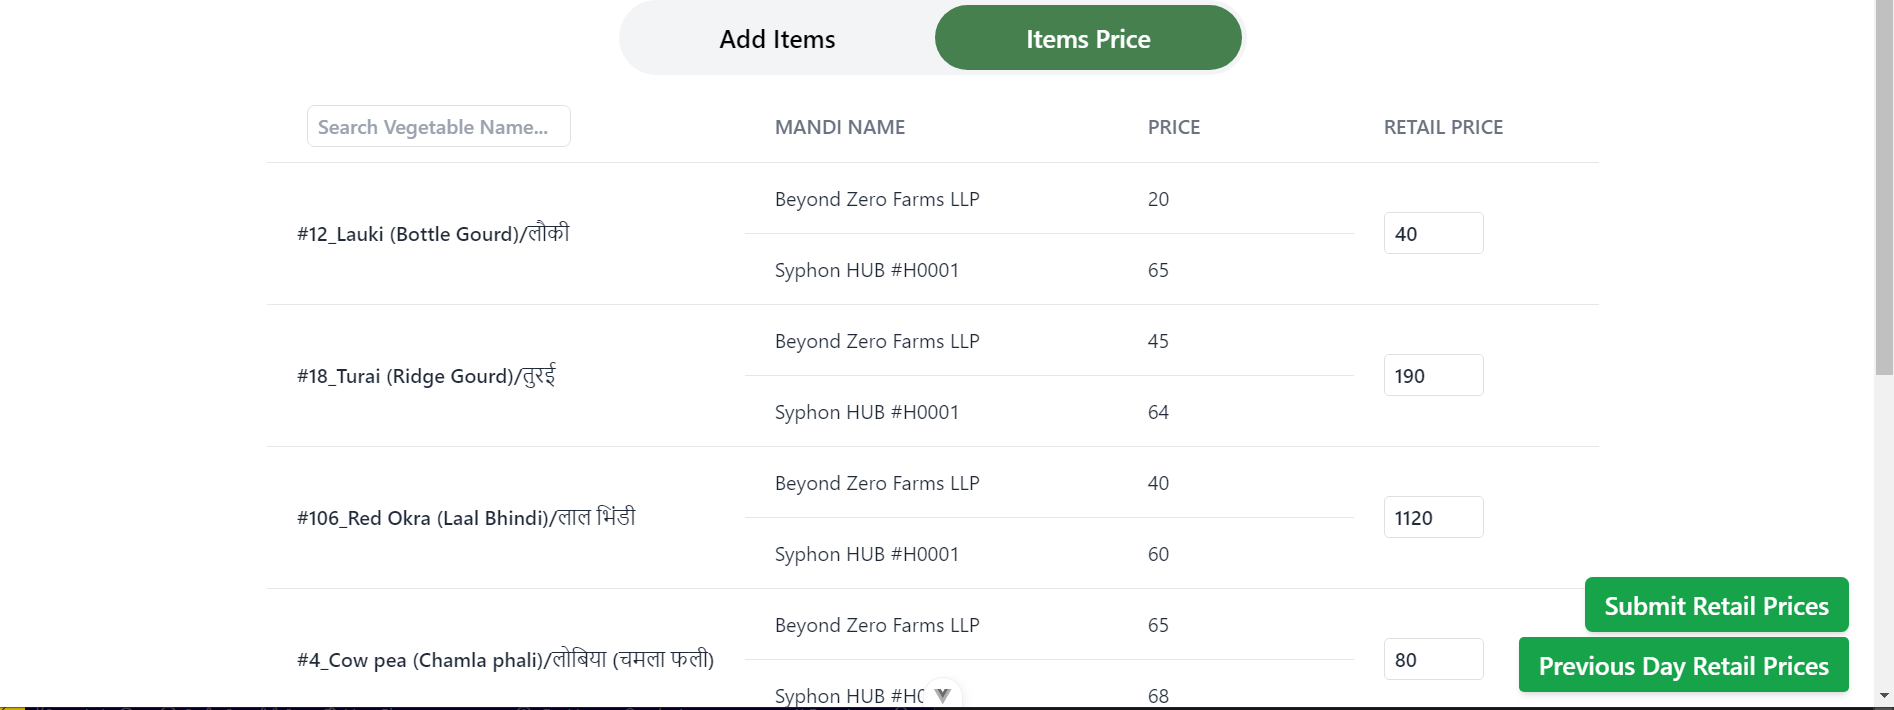
Items Price
The Items Price page is for verifying the price entered by the user from the app.
- Price Column:
- Contains the price entered from the user side for the corresponding mandi.
- Retail Price Column:
- Contains the current price fetched from Odoo for the corresponding vegetable name.
- Admin will update this retail price as per requirement.
- Submit Retail Prices Button:
- Submits the updated prices for the particular vegetable name.
- Simultaneously updates the retail price in Odoo and also in our PocketBase database.
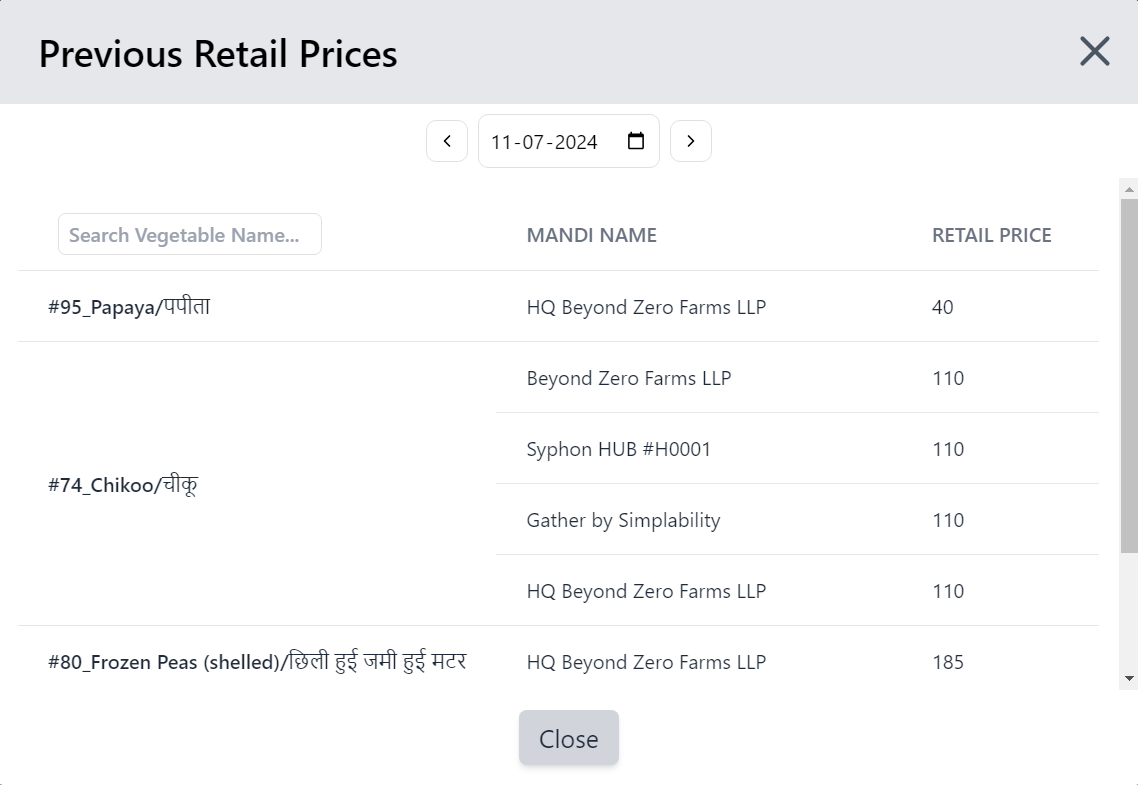
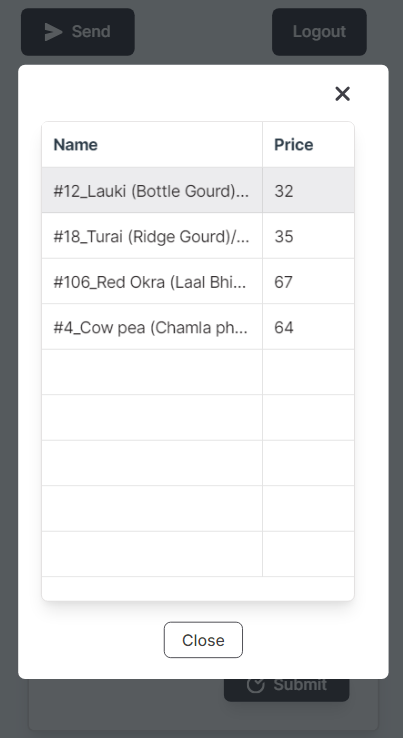
- Previous Retail Prices Button:
- Opens a modal for displaying the previous retail prices of a particular selected day.
Mandi Price Application User Guide
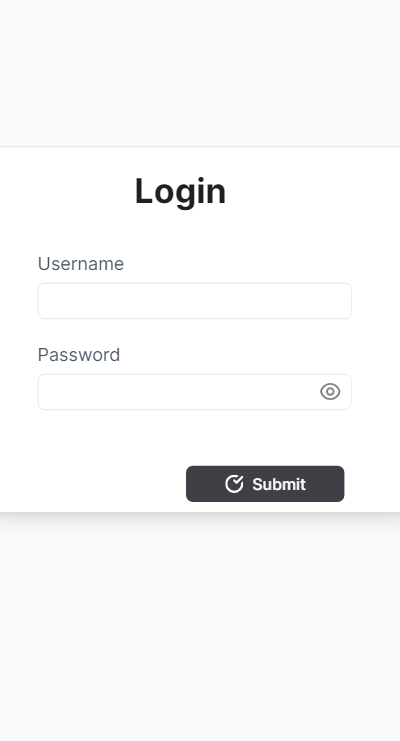
Login Page
This is the login page for the user which will allow only authenticated users to open the app.
Note: A new user can be created by admin using the Create User utility.
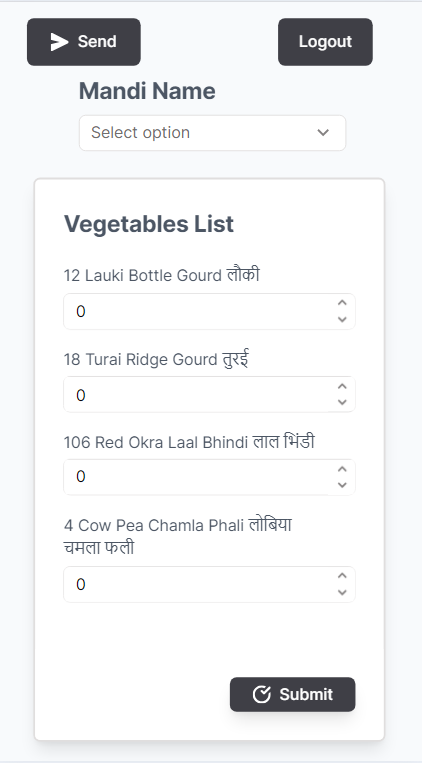
Home Page
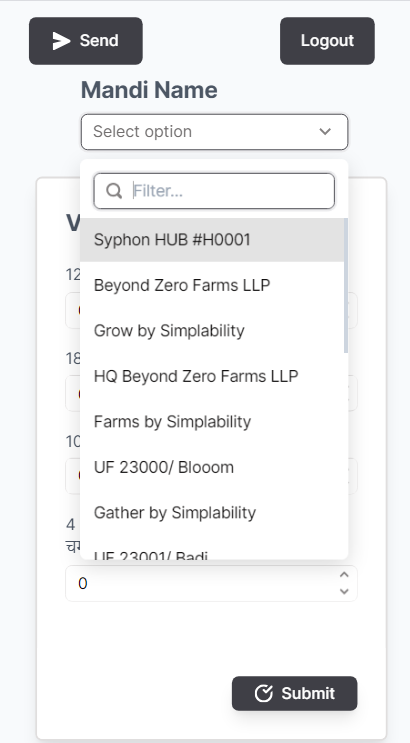
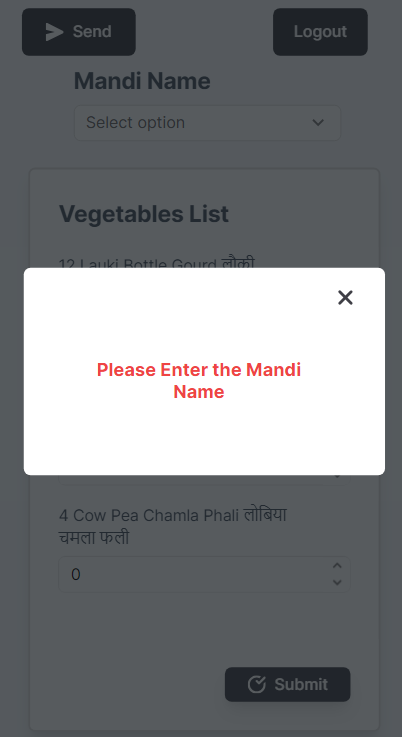
- Mandi Name:
- On Clicking on the input box, it will open the dropdown menu containing the mandi names.
- This option is required.
- Without entering the mandi name, a modal will be shown on submit saying enter the mandi name.
- Vegetable List:
- This list will contain all the enabled items that are enabled for price tracking from the admin side. If there are no items enabled for that day, then the list will contain the items enabled from the previous day.
- Price Input:
- User will enter the price for that particular item if known.
- It is not necessary to enter the price for all the listed items.
- If the price entered is 0, then the price will not get updated in our databse for that item.
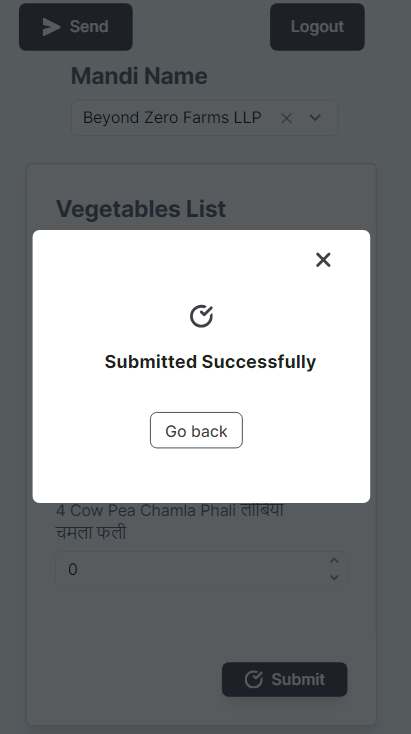
- Send Button:
- This button will open Whatsapp and the user can send the list of items listed in the app to the required contacts.
- Login Button:
- Logs out from the app and redirects back to the login page.
- The user has to refresh the home page of the app for any changes to occur, whether it be to show the newly enabled items or to display the yesterday enabled items (if no items enabled today)
 |  |
|---|
 |  |
|---|---|
 |  |
| :-------------------------: | :-------------------------: |